
Creating Products
Adding products to your store is one of the most important tasks for maintaining an up-to-date and well-organized inventory. Whether you’re adding new products, managing stock, or tweaking prices, having your products correctly listed ensures a smooth shopping experience for your customers. In this guide, we’ll walk you through the steps of adding a new product, and we’ll explain each field to make the process simple and effective. Let’s get started! 🚀
Adding Products to Your Store
Step-by-Step Guide
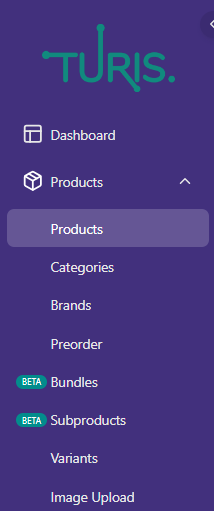
Navigate to the Product Section 🛠️
First, log in to your store’s admin panel. From the dashboard, head over to the “Products” section, and click on the Add New Product button to start creating a new product listing.
Fill in the Product Information 📝
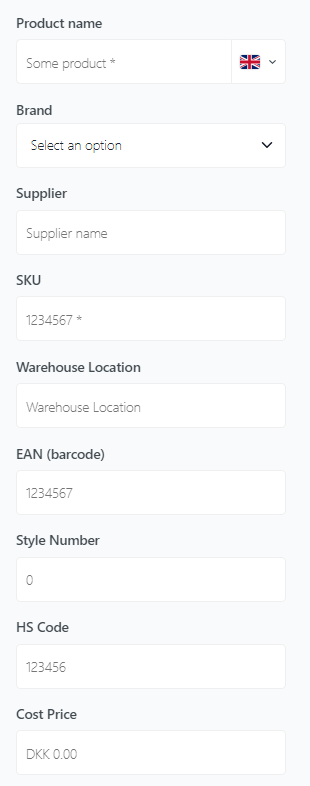
You’ll need to provide key details about your product. Here's what you’ll encounter:
- Product name (Required*): Enter the product’s name.
- Brand: Choose the product’s brand from the dropdown list or add a new one.
- Supplier: Input the supplier’s name if applicable.
- SKU(Required*): Enter the Stock Keeping Unit (required). This helps track your product inventory efficiently.
- Warehouse Location: Add the specific location of the product in your warehouse.
- EAN (barcode): Add the European Article Number or barcode.
- Style Number: Enter the style or model number of your product.
- HS Code: Add the Harmonized System code, which is essential for international shipping and trade.
- Cost Price: Add the cost of producing or purchasing the product. This price is not shown for your buyers.

Manage Product Variants 🎨
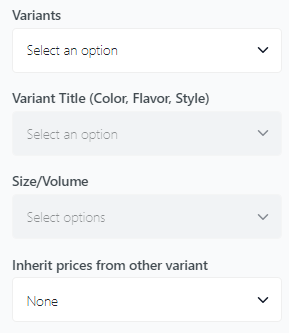
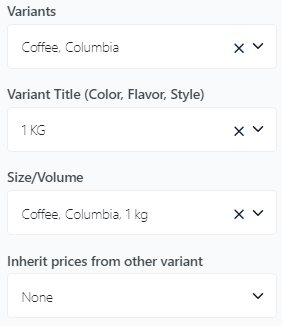
If your product comes in different versions (like colors or sizes), make sure to add variants:
- Variants: Select product variants such as color, size, or style.
- Variant Title: Specify the variant title (e.g., Red, Medium).
- Size/Volume: Choose the appropriate size or volume for each variant.
- Inherit prices from other variant: Option to inherit pricing from other variants for consistency.
*Please note, when creating variants on products, all 3 fields; Variants, Variant Title and Size/Volume, must be filled.
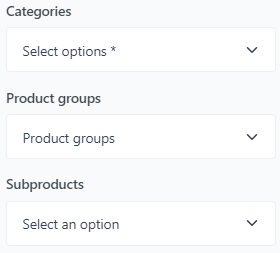
Categorize and Group Products 📂
Help customers easily find your products by categorizing them correctly:
- Categories(Required*): Assign categories to your product (e.g., Electronics, Apparel).
- Product groups: Select groups that match your product for better organization.
- Subproducts: Link subproducts or related products.
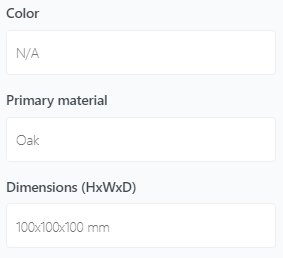
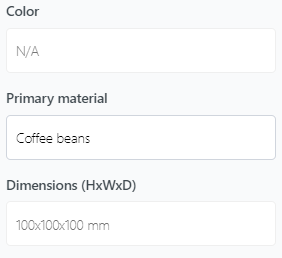
Specify Additional Product Details 📏
Fill in further specifications that will help both your business and your customers:
- Color: Specify the color of the product.
- Primary material: Input the main material (e.g., Oak for furniture).
- Dimensions (HxWxD): Enter the product’s dimensions in height, width, and depth (e.g., 100x100x100 mm).
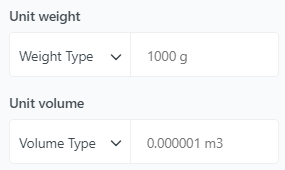
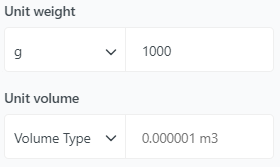
Set weight Information 📦
Input details to ensure accurate shipping estimates:
- Unit weight: Enter the weight of the product and its unit type (e.g., 1000 g).
- Unit volume: Specify the volume of the product in cubic meters (e.g., 0.000001 m³).
Set Pricing and Special Offers 💰
Settings prices for your products includes multiple options and fields:
- Price: Click to set the base price of your product.
- RRP: Manage your Recommended Retail Price.
- Special Price Lists: Configure special or discounted price lists.
- Discount Tiers: Set up discount tiers for bulk or loyalty purchases.
- Dropshipping Prices: Adjust prices specifically for dropshipping arrangements.
*Note: Prices can also be used to hide items - If an item is missing a price in manage prices or special price lists, this will not be shown to customers with that currency and/or special price lists attached.
*If an item is missing a price in Special price lists, but not in mange prices, manage prices will overwrite the missing price.

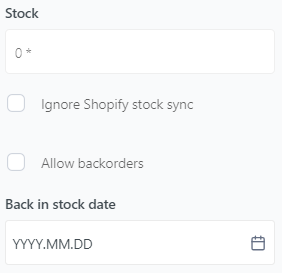
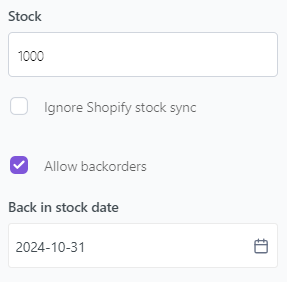
Enter Stock Information 🏷️
Keep track of your stock levels and set up conditions for products that are out of stock:
- Stock(Required*): Add the current quantity in stock.
- Ignore Shopify stock sync: Check this box if you do not want to sync with Shopify’s stock system.
- Allow backorders: Let customers order items even when out of stock.
- Back in Stock Date: Specify the expected date for restocking.
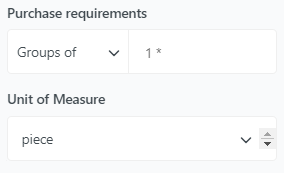
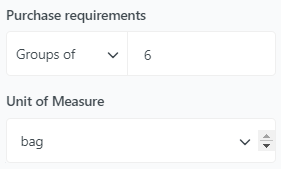
Set Purchase requirements and unit of measure:
- Purchase requirements(Required*): Set the case quantities and choose if these are sold in groups of or minimum of.
- Unit of Measure: Choose the appropriate unit of measure (e.g., piece, set).
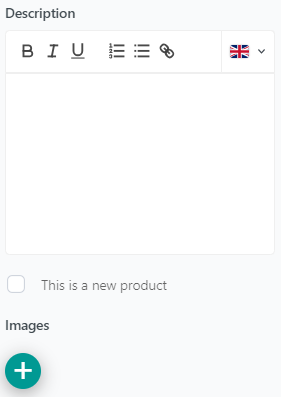
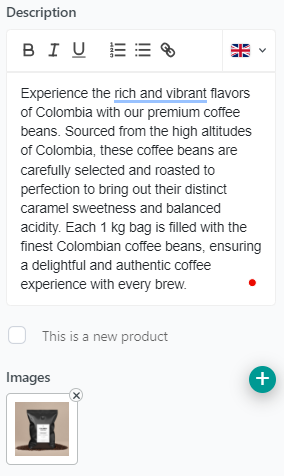
Upload Product Images and add a description📸
Visual appeal matters! Make sure to include high-quality images of the product:
- Images: Upload one or more product images to showcase the item.
- Description: Add an description telling about the item and its qualities.
Finalize and Save 🖱️
After entering all the details, check the box if it’s a new product, then click “Save” to complete the process. Your product will now be listed in your store, ready for customers to purchase! 🎉
By following these steps and using the detailed explanations for each field, you can ensure that your product listings are complete, professional, and optimized for your retailers’ shopping experience!