
Shop and dashboard currencies
Managing currencies in Turis is essential for ensuring smooth transactions and clear financial reporting. Whether you are configuring your shop currencies, assigning them to retailers, or setting up the Dashboard Visualization Currency, this guide will walk you through the necessary steps.
Accessing Currencies
To access Currencies, navigate to ⚙️ Settings in the left-hand menu and click on Currencies.
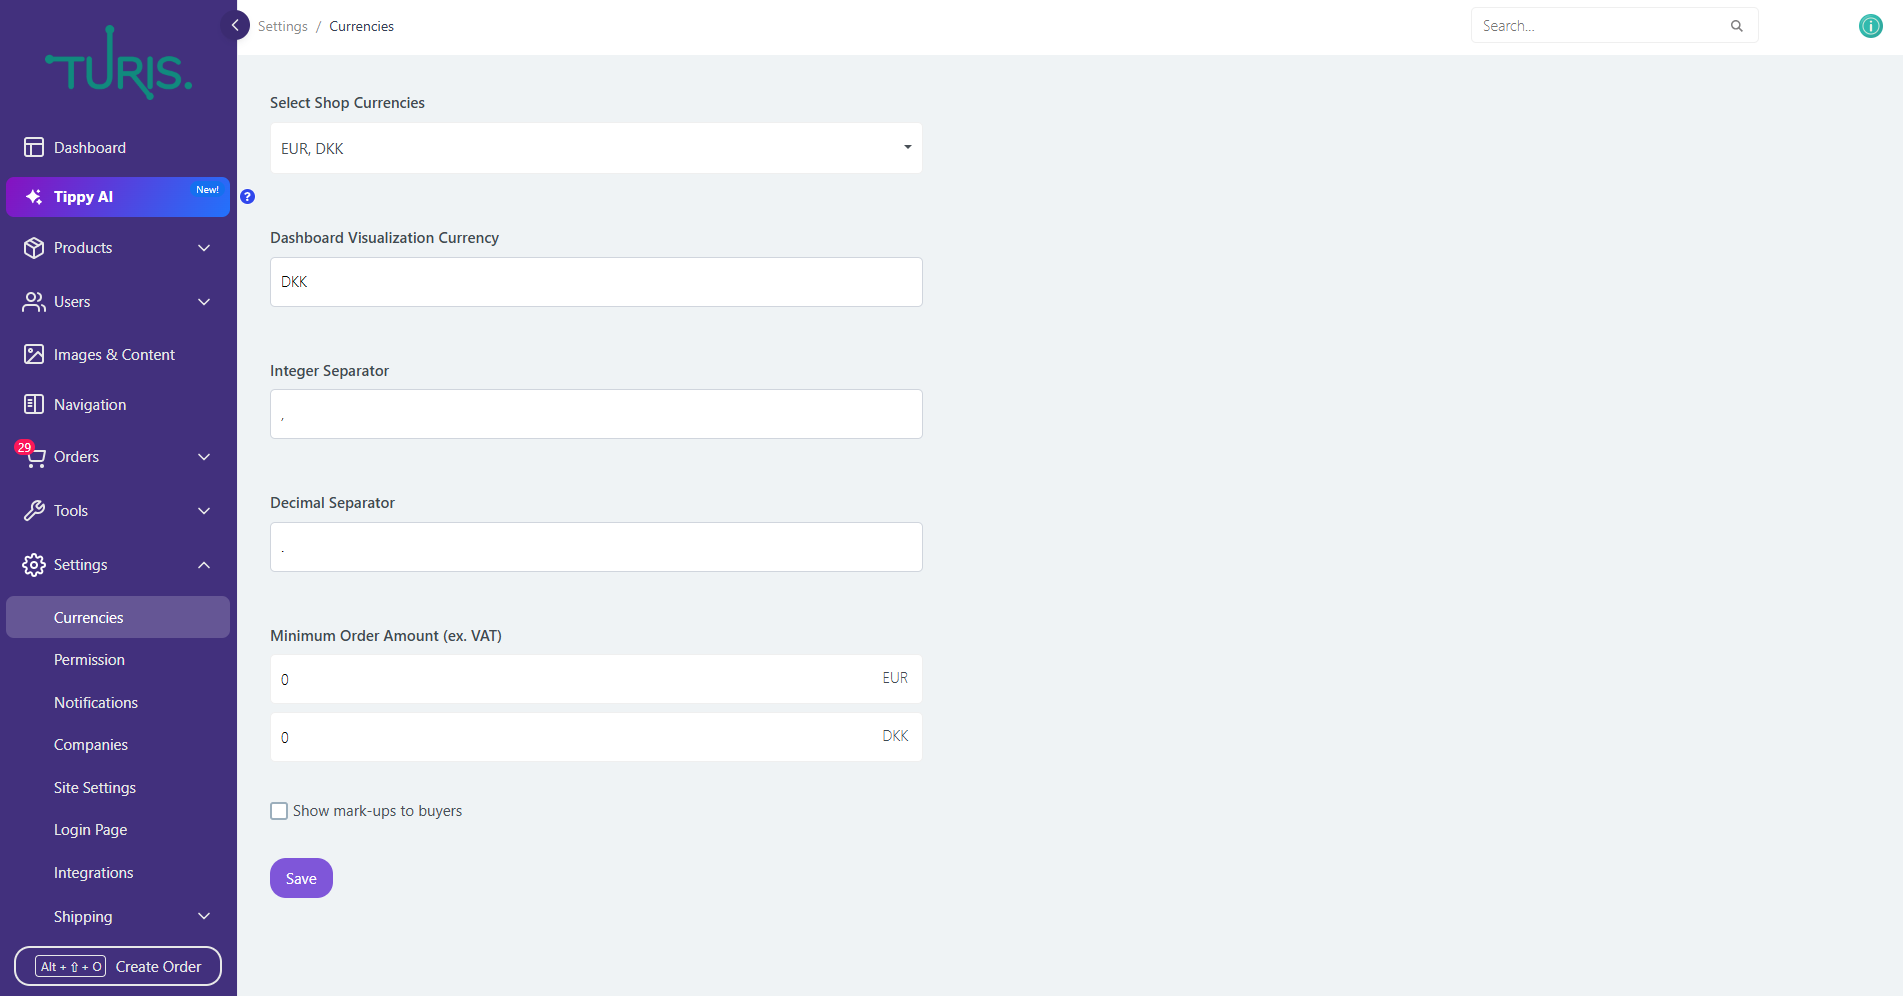
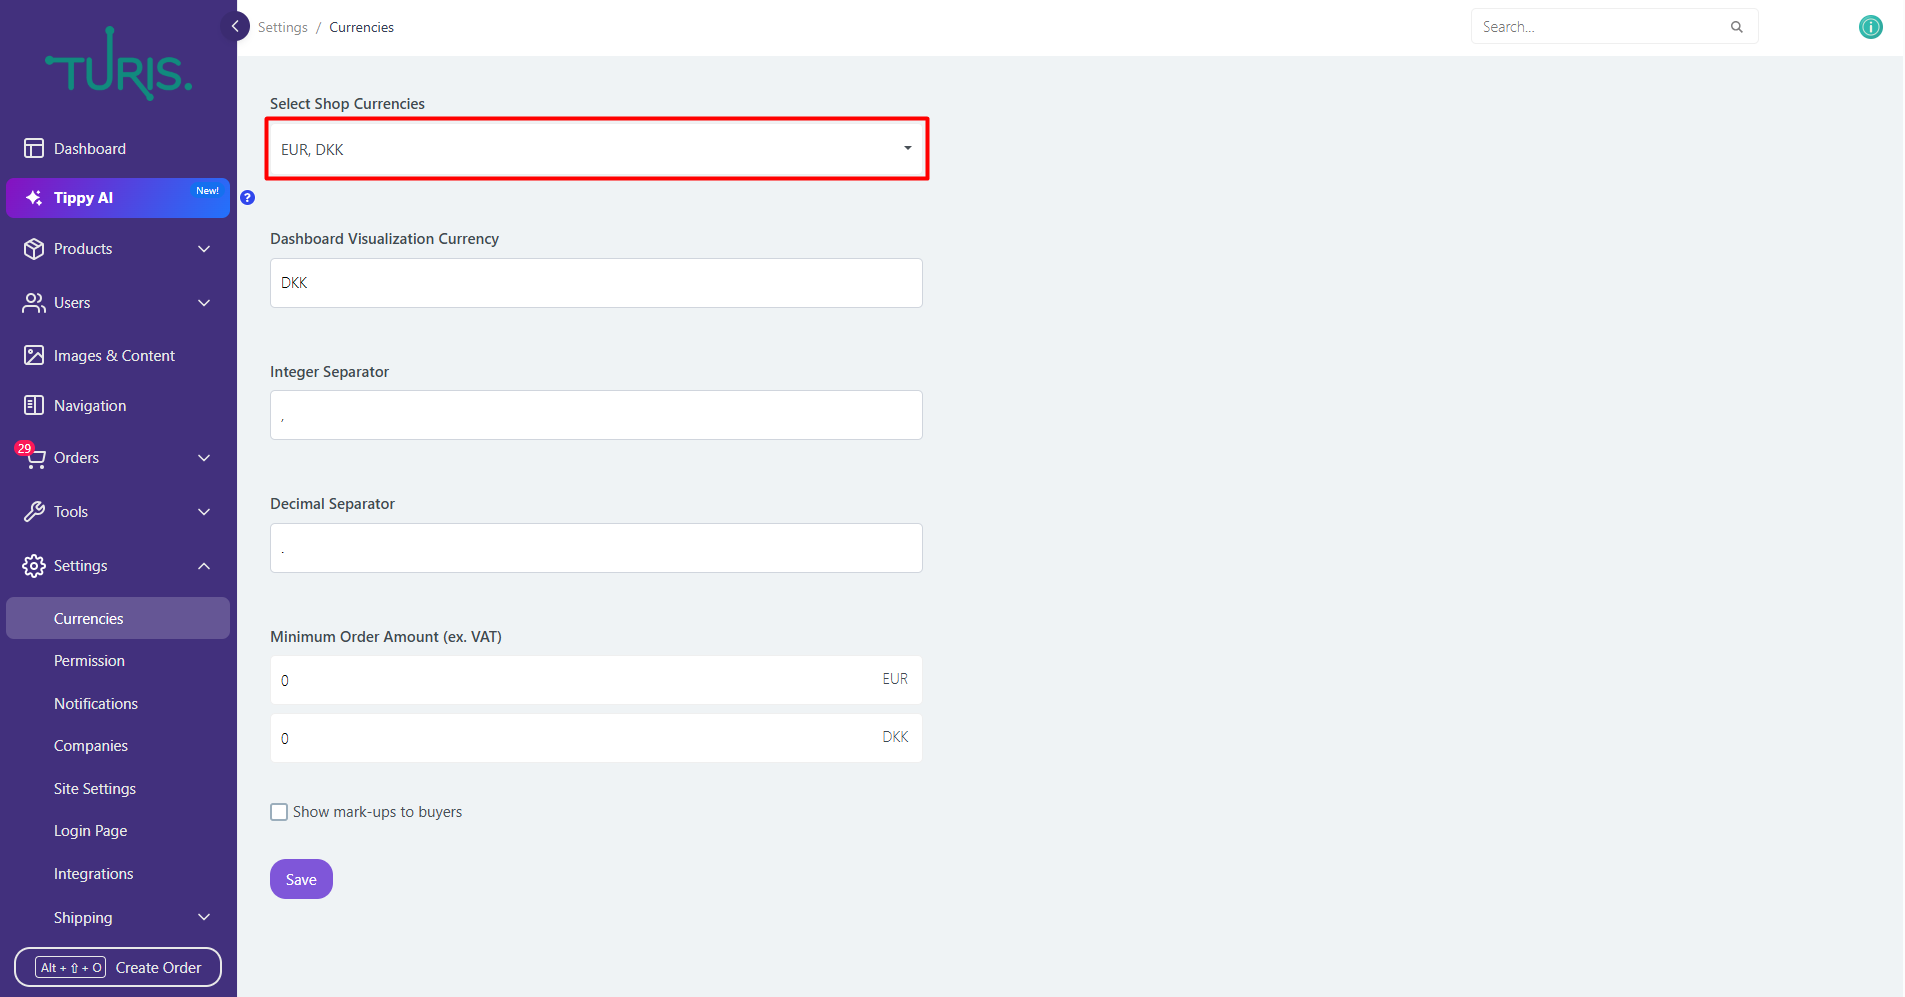
Selecting Shop Currencies
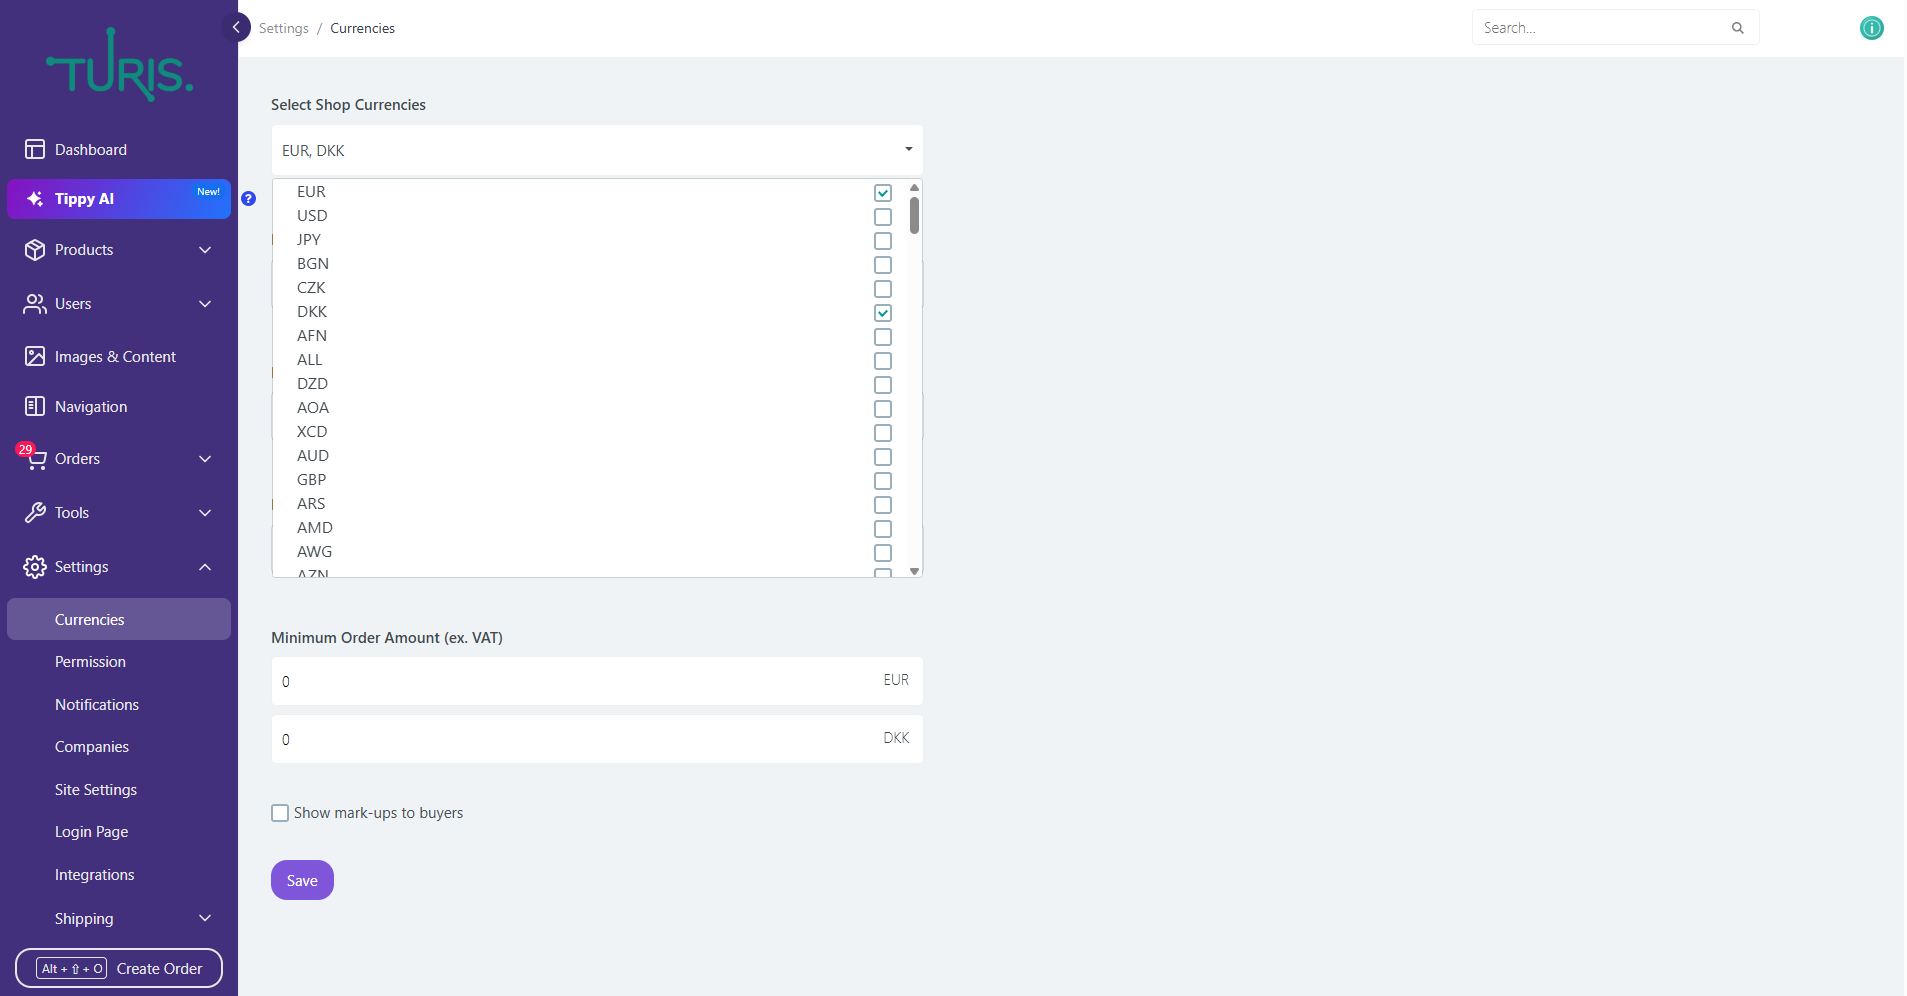
To begin, click on Select Shop Currencies to expand the dropdown menu.
Here, you can choose the currencies you want to use in your shop by ticking the corresponding checkboxes. Once selected, click Save to apply the changes. Your chosen currencies will then be displayed.
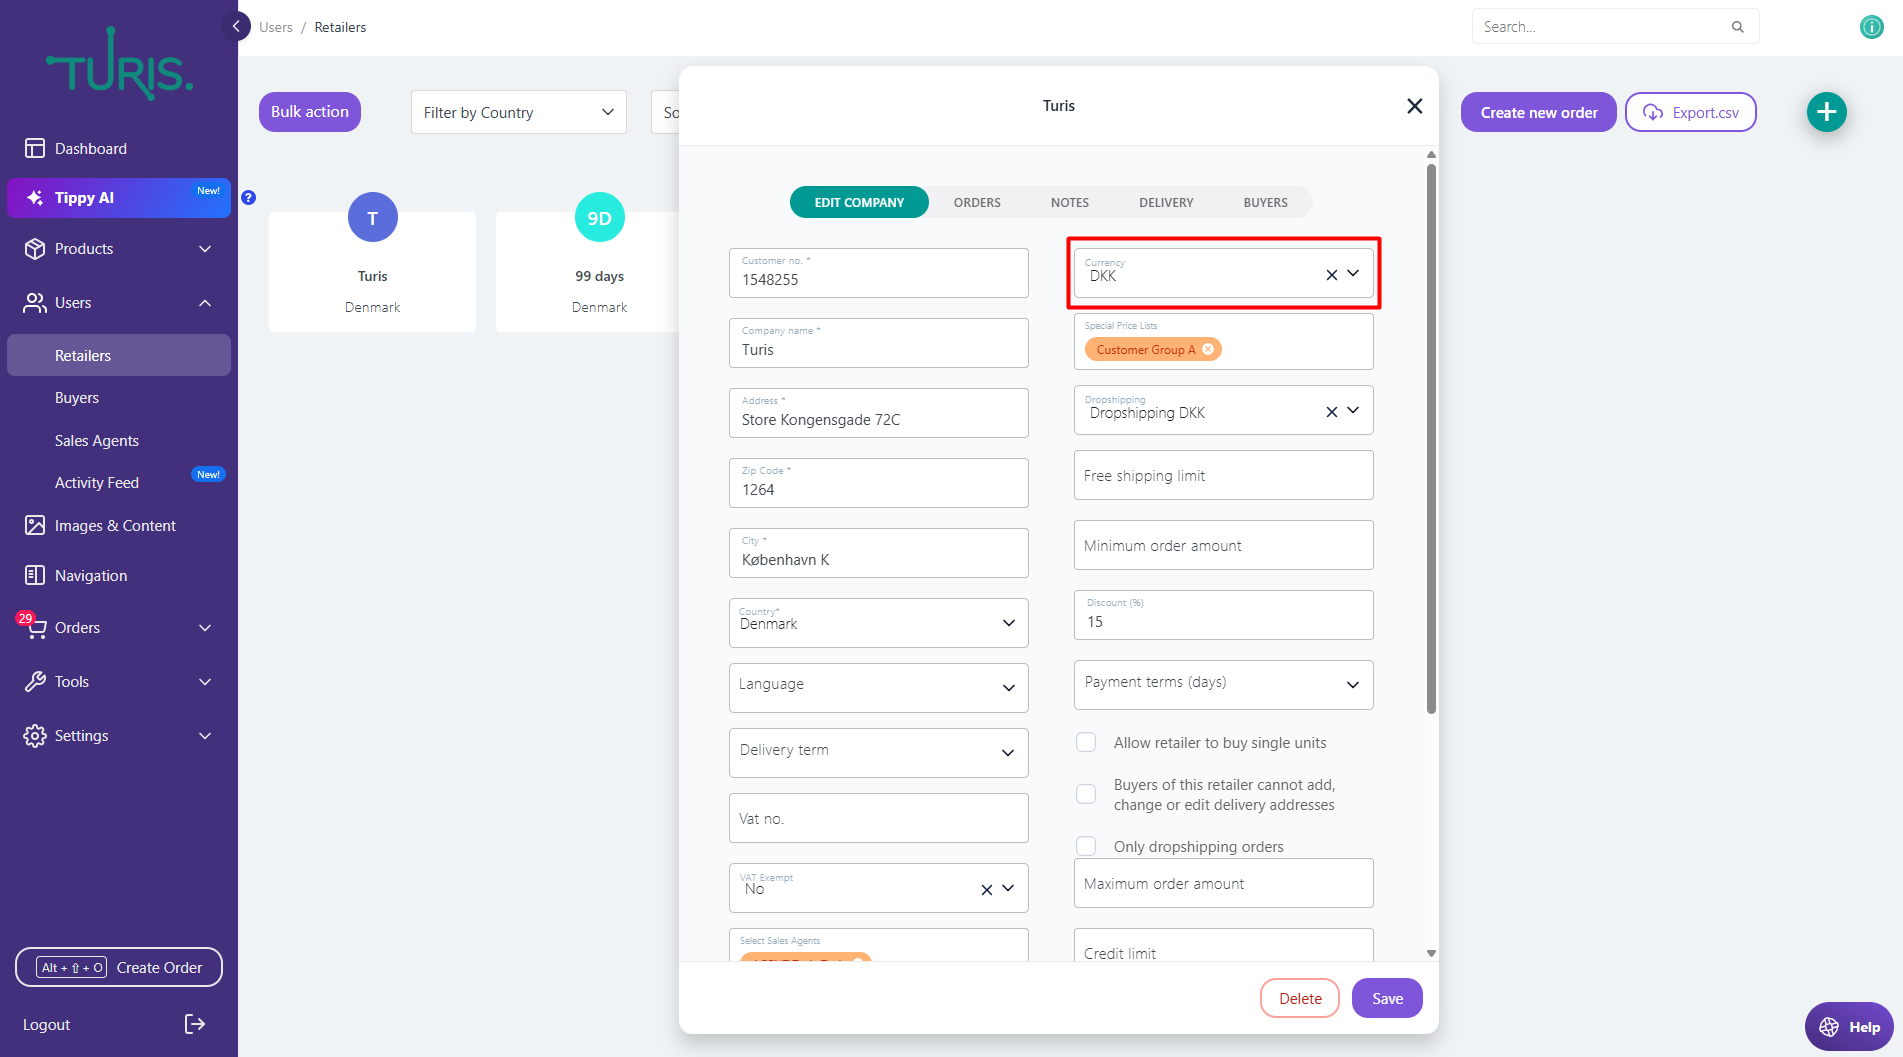
Assigning Currency to a Retailer
After setting up and adding new currencies, you can assign them to your retailers by navigating to 👤 Users in the left-hand menu and clicking on Retailers.
🔔 Note: Every retailer must have a currency assigned. It is not possible to create a retailer without assigning a specific currency.
Click on a retailer to open its settings and assign their currency in the field "Currency"
Dashboard Visualization Currency
If you are selling in multiple currencies, displaying each currency separately in a graph can be overwhelming. To simplify financial analysis, Turis consolidates all sales into the currency you choose in the Dashboard Visualization Currency setting.

For example, if your shop's Dashboard Visualization Currency is set to Danish Krone (DKK), all sales data will be displayed in DKK. You can easily change this setting by clicking on the currency field and selecting a different currency, such as Euros (EUR).

By setting a Dashboard Visualization Currency, you gain a clearer overview of your business performance and user purchasing behavior.