
Managing General Discounts
In this article, you will learn how to set up and manage both monetary and percentage-based discounts.
How to Set Up and Define Discounts
To access the Discounts section, follow these steps:
- Click on ⚙️Settings in the menu on the left-hand side.
- Then, click on Discounts.
Your window will now look like this:
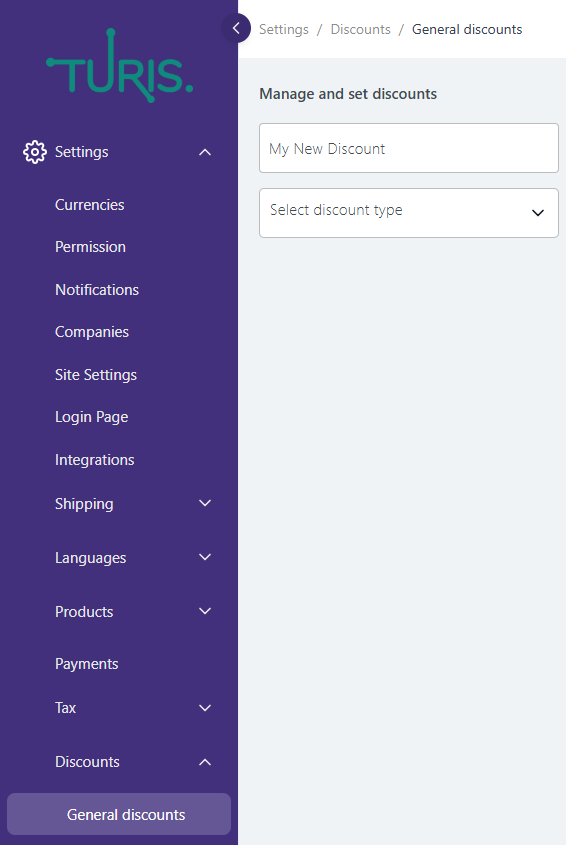
- Start by giving your discount a descriptive name. For example, you could name it "Buy for 1000 EUR, Get 10% Off."
🔔 Please Note: Discounts are currency-specific and linked to a minimum order amount. The discount is activated when the defined minimum order value is met.
- After naming your discount, you need to define whether it will be a monetary discount or a percentage discount. For this example, we'll use a percentage discount.
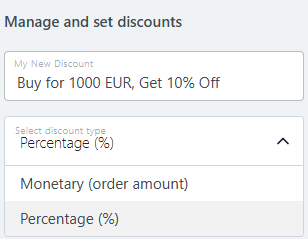
- Your window will now look like this:

- Next, enter the discount percentage (in this case, 10%) and specify the minimum order amount in the EUR field (1000 EUR).
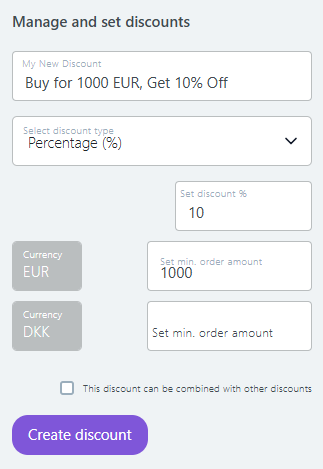
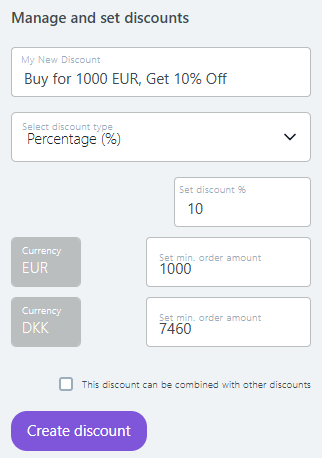
- If you wish to apply the 10% discount to other currencies, simply enter the corresponding minimum order amount for each available currency.
- Additionally, if you want this discount to be combinable with other discounts, check the box labeled "This discount can be combined with other discounts."
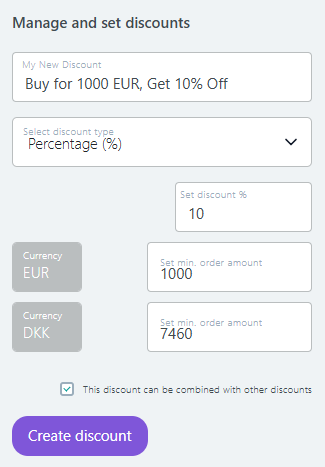
- Finally, click the "Create Discount" button.
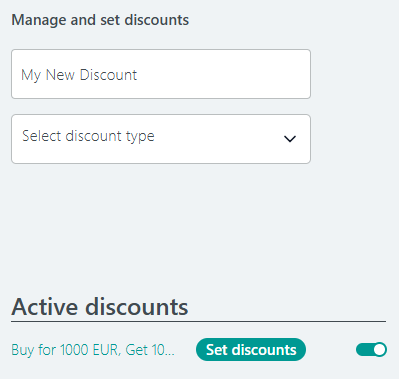
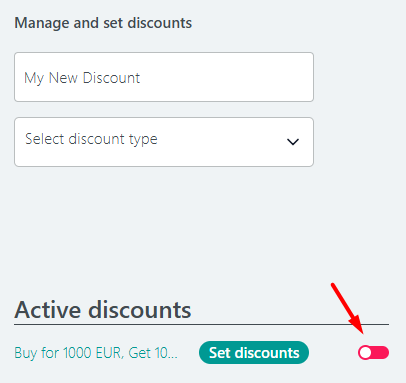
The discount you just created will now appear in the Active Discounts section. By default, it is turned off, but you can activate it by toggling the switch to green.
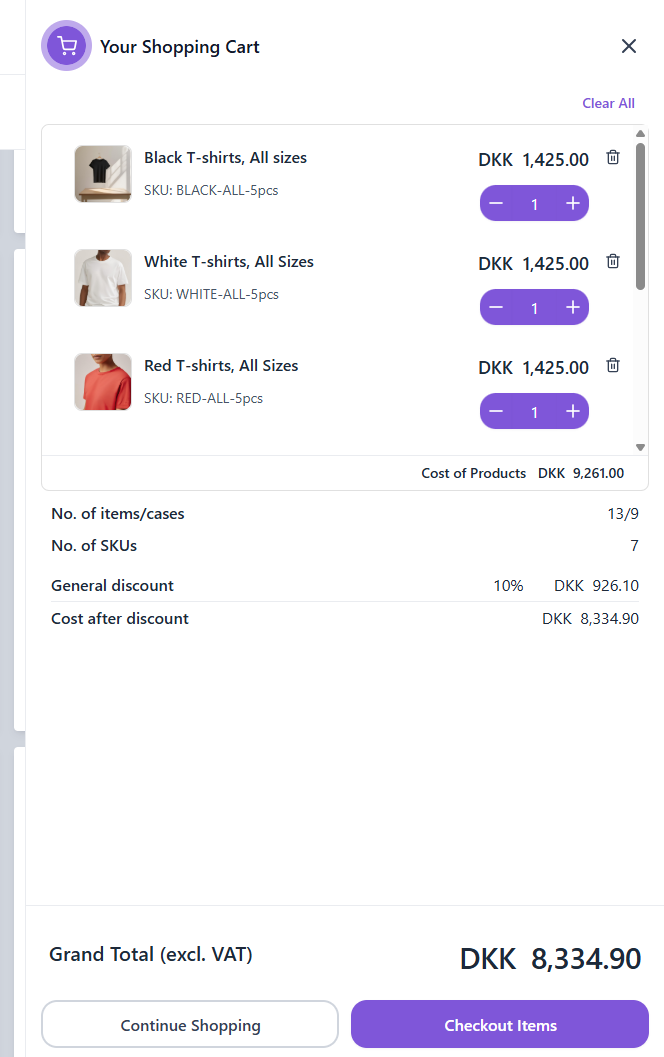
What Does it Look Like for My Customers?
In the basket view, your customers will see the discount displayed as a separate line item, like this:
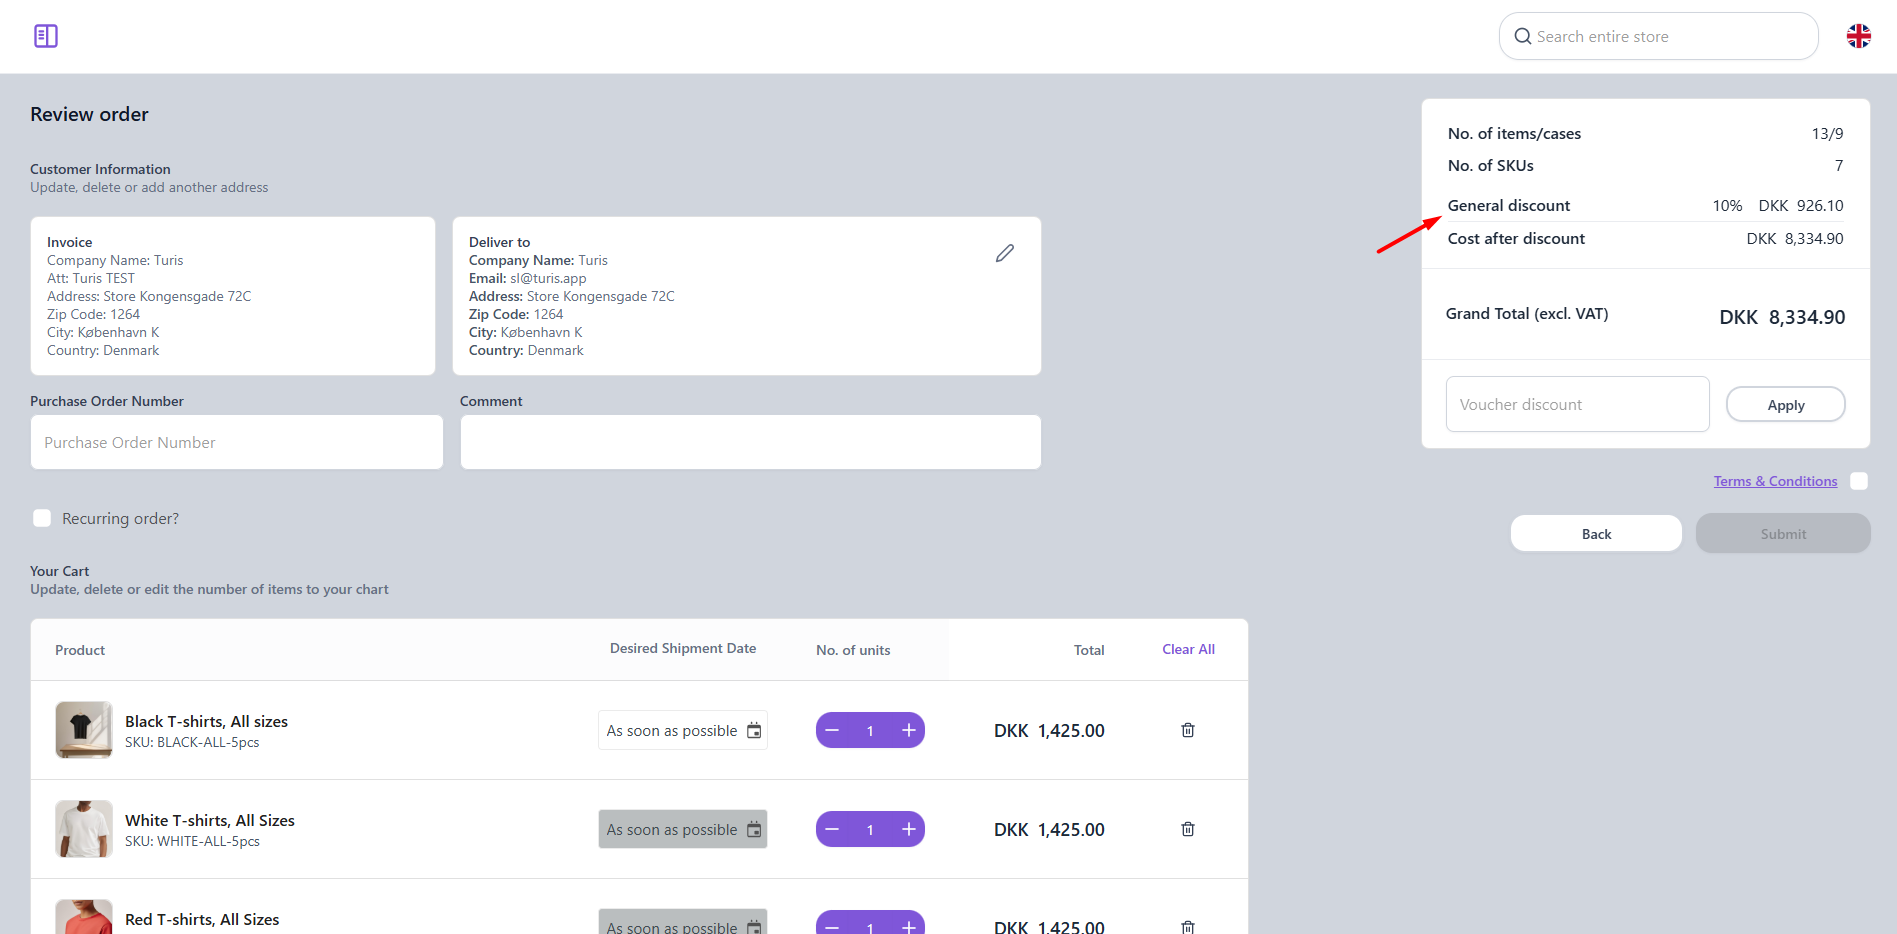
Similarly, during checkout, the discount will be shown as a separate line, allowing customers to view the discount applied to their order:
Retailer- and Buyer-Specific Discounts
In addition to general discounts that apply to all customers within a specific currency, you can also set up discounts that are Retailer- or Buyer-specific.
To create a retailer-specific discount:
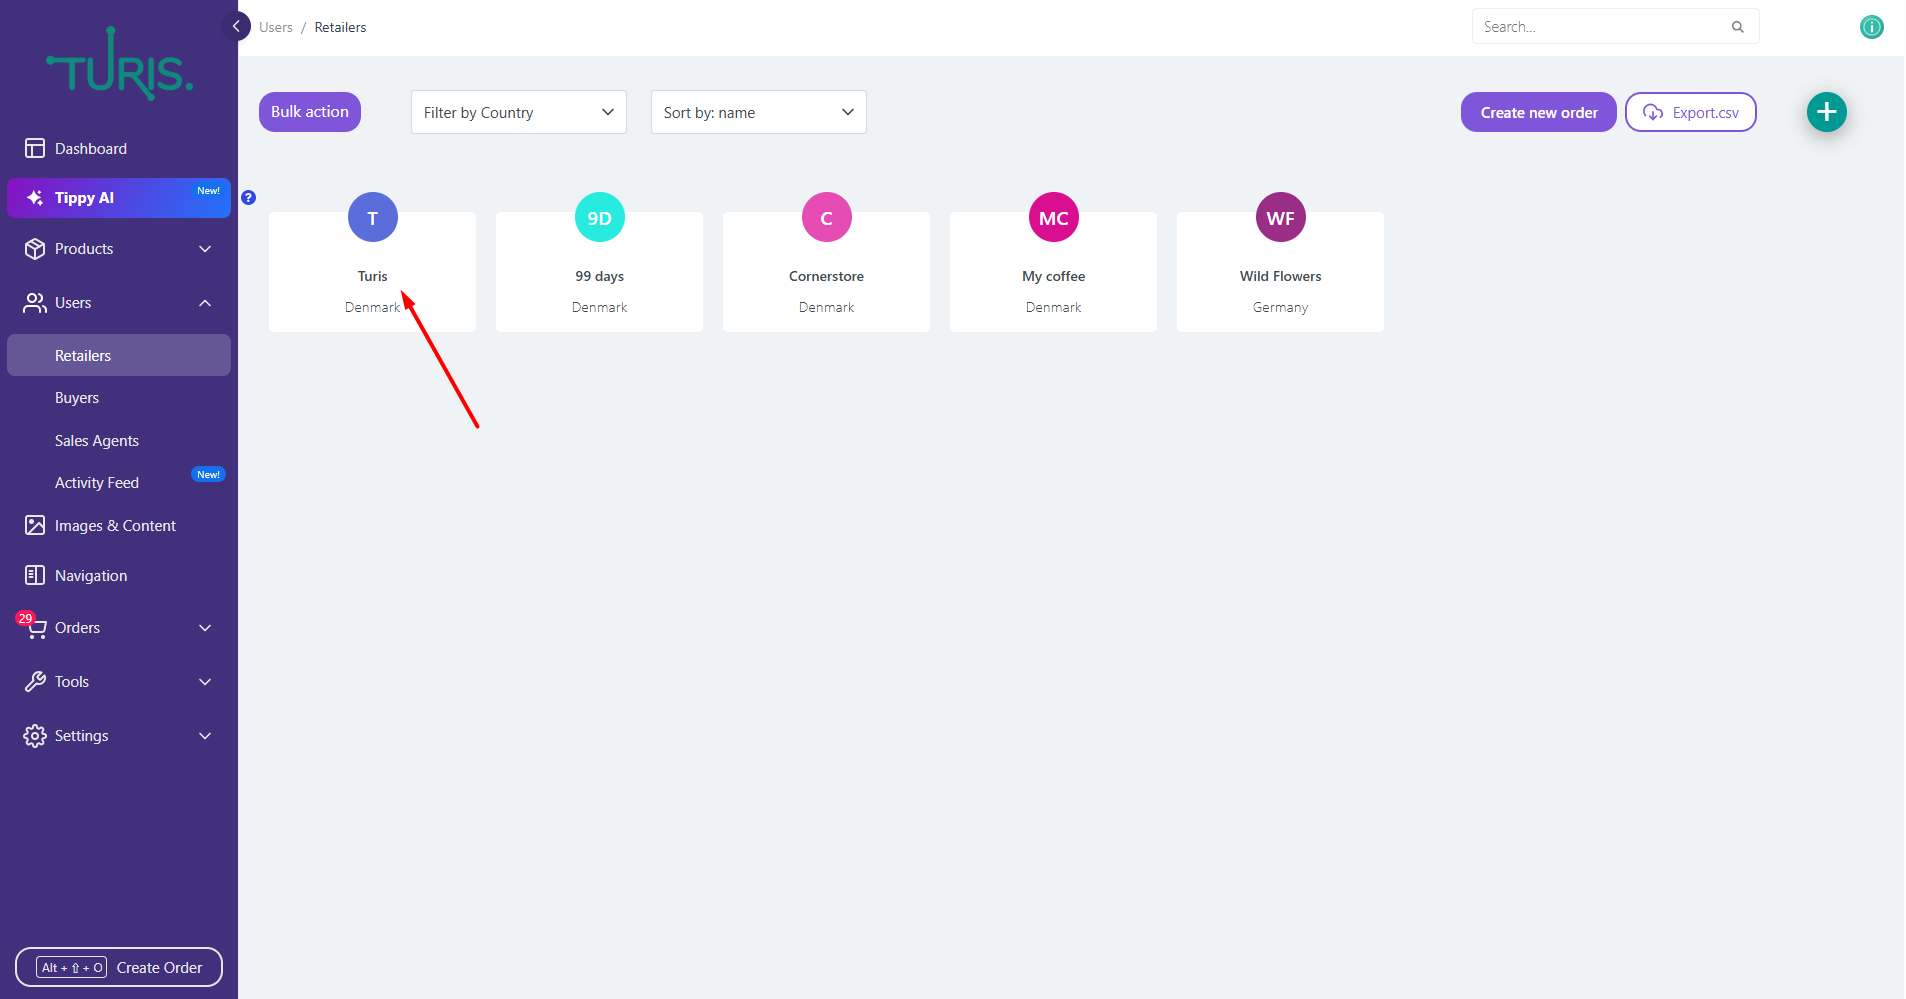
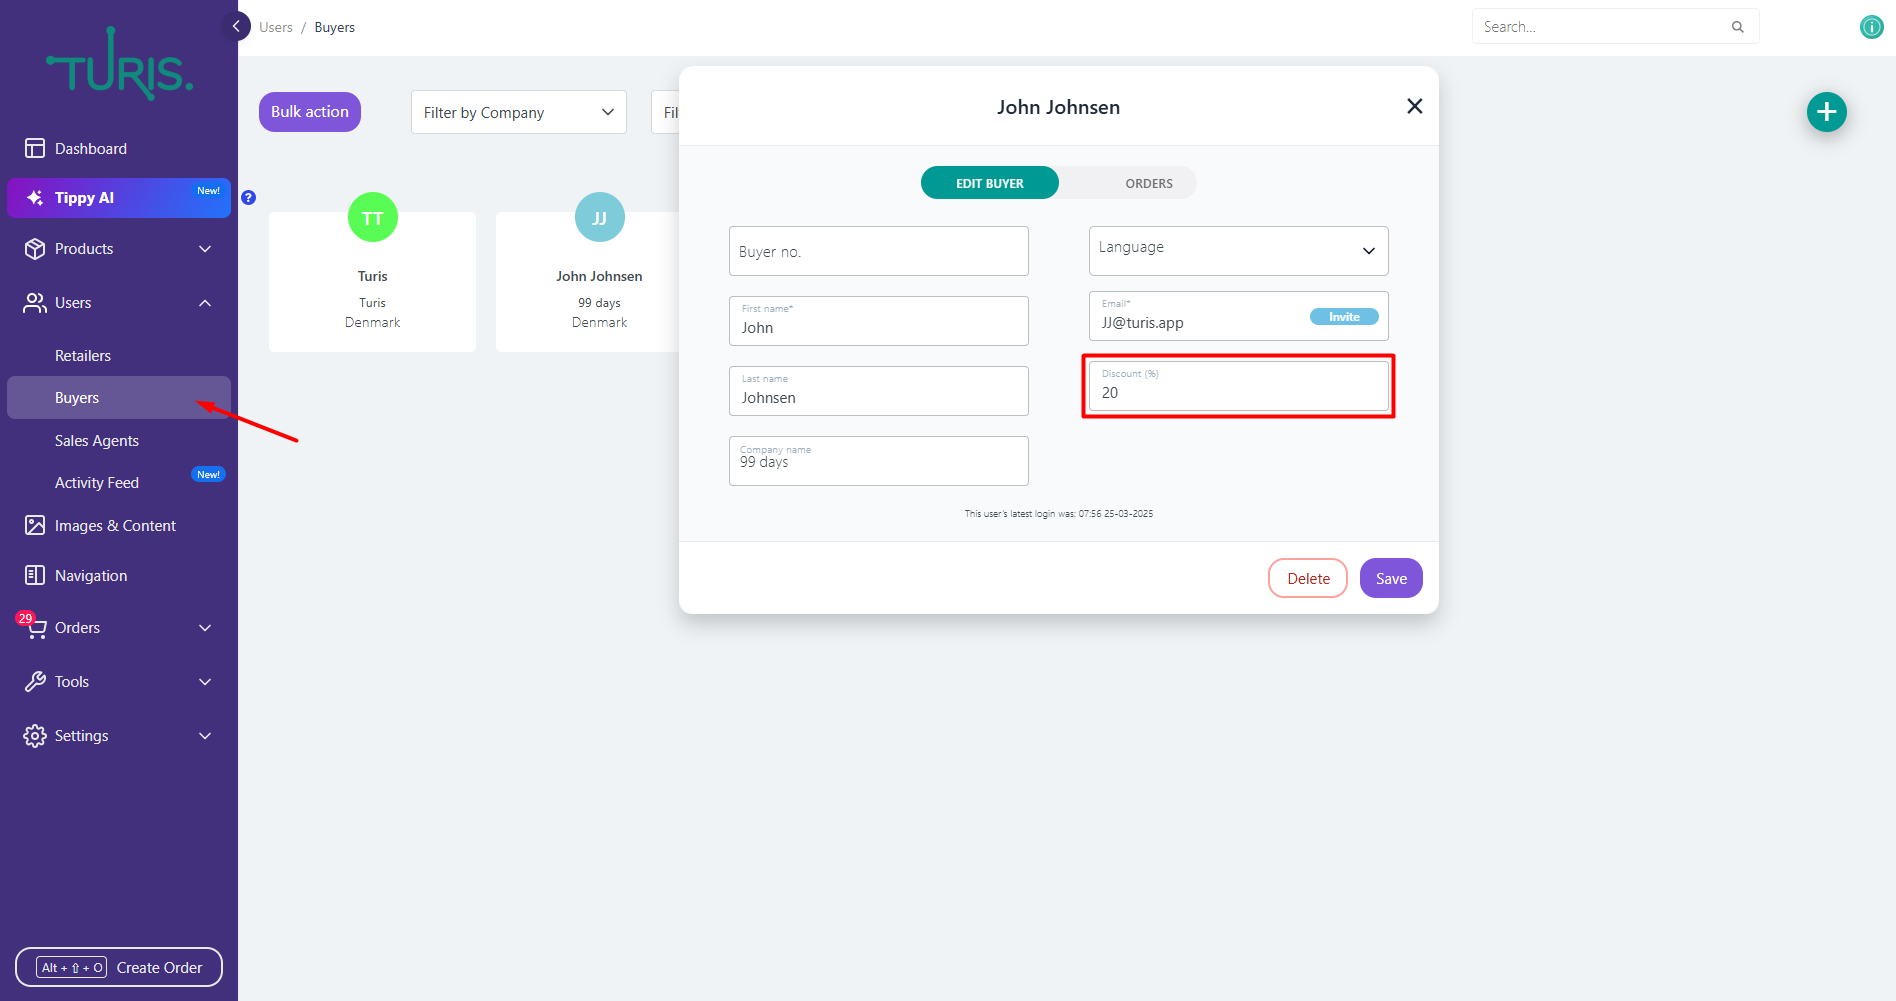
- Click on 👤 Users > Retailers in the menu on the left-hand side.
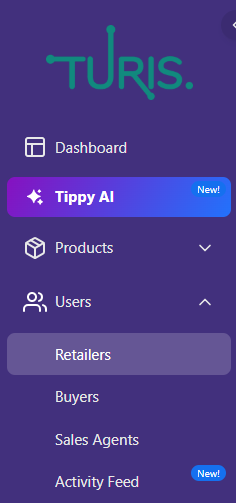
- Select the retailer for whom you want to assign a specific discount.
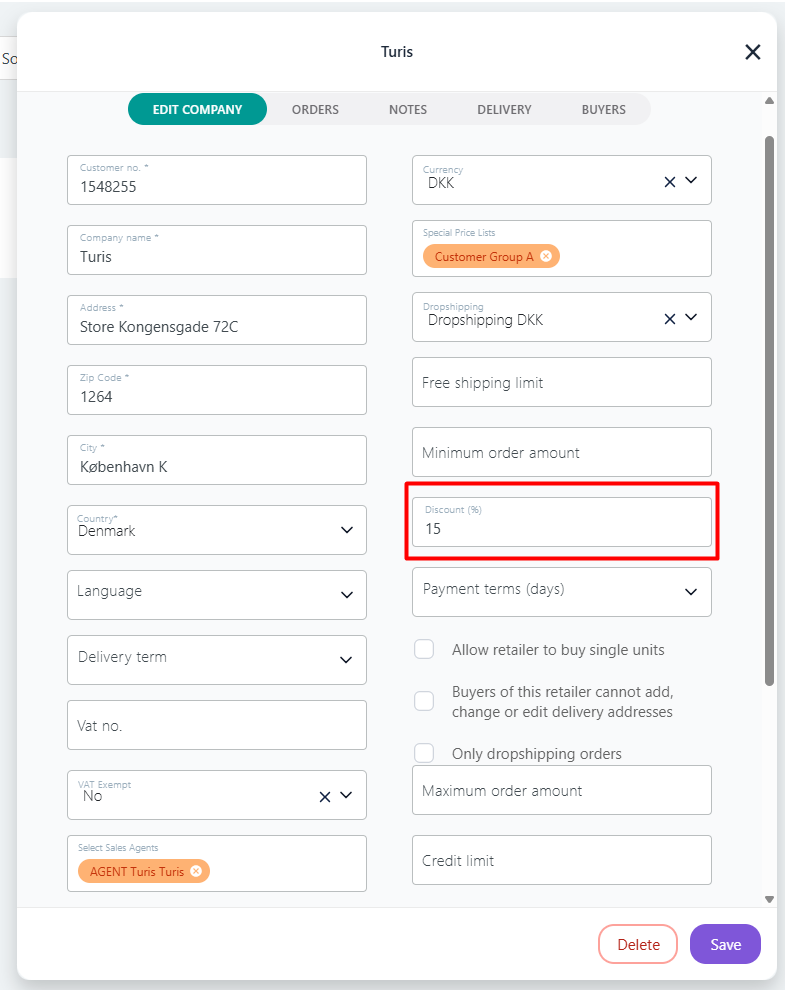
- Enter the discount amount (eg. 15) in the field "Discount (%)"
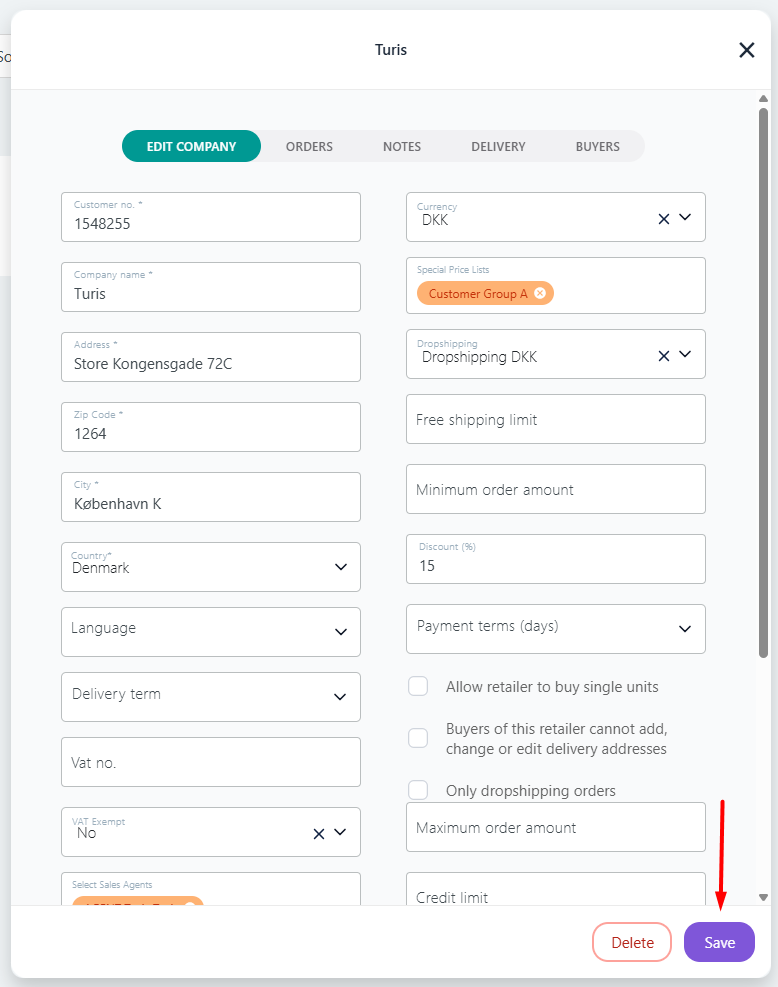
- Click "Save" to finalize the discount.
You can follow the same procedure for buyers. Simply find the specific buyer and assign them a unique discount.
Deactivating or Deleting General Discounts
To deactivate a discount:
- Simply toggle the switch from green to red. This will deactivate the discount.
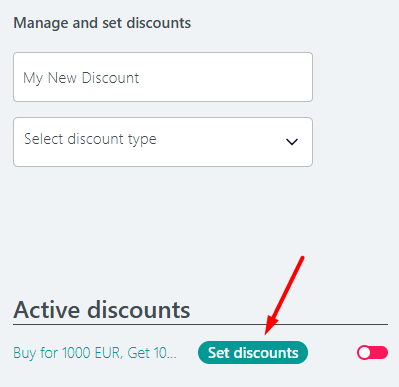
To completely delete a discount:
- Click the "Set Discounts" button.
- Then, click "Delete Discounts."
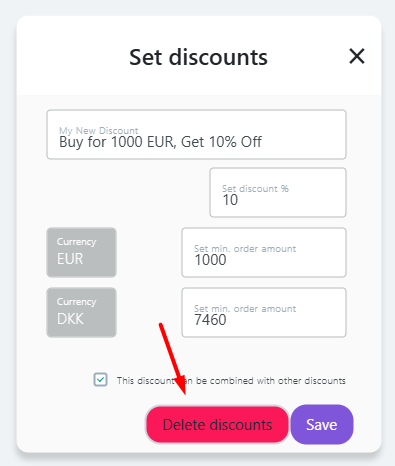
- A confirmation pop-up will appear to confirm your action.
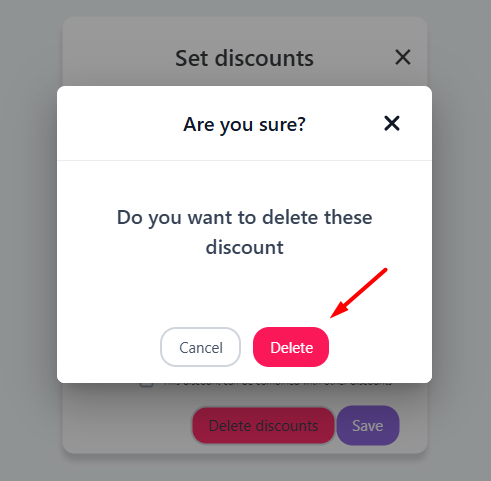
- Click "Delete" to permanently remove the discount.